- In this case, the module uses approx 1V, rather than 0V, as the switching point, so that it can be controlled by gates. It is simple to bring it back to 0V for those who think it should be.
Also the '0' state is really a result of the diode voltage drops rather than any circuit design trickery.
The signal on the bottom input is fed to the switch of the Switch jack (oh yes) so the incoming signal can switch itself without any help. - The three states actually mean there is a flat spot at the switching point, so the circuit can be used for audio but at slow rates there is a click, so it is far better suited for CV processing.
- This circuit originally was used as the nonlinear element in the Primal Hyperchaos and two of them in the Hyperchaos Deluxe. I quite like it on its own, so the Signum Hyperchaos brought the signum section to the panel where it could be used as a stand-alone module. This version drops the chaos and just has the Signum.
- The switching is done by diodes rather than a dedicated IC.
- The panels are available in white/gold and black/gold in both Pulp Logic and Intellijel formats. Please specify which colour and which format you want when ordering.
- Also the PCBs are the same for both panel formats and use a standard Eurorack power connector. There is no provision for the Pulp Logic 3 pin power connector.
- PCB and panel set = USD10
- Assembled = USD55
- Build Guide on wiki
nonlinearcircuits -
ANALOGUE modular synthesizers
(no midi, no software, no microprocessors)
PCBs and Modules LIST
Tuesday, 20 August 2019
1U Signum
In the simplest sense, this is a switching module. It is a little different though because it has 3 states rather than just on/off:
VCAs
This 8HP module contains 3 VCAs and a fuzz/distortion. The VCAs are similar to the ones used in the NLC Cluster; simple OTA based but work very well.
The fuzz/distortion is part of the bottom VCA and is a typical diode based affair, on the PCB the space for these are thru-hole so you can install Si or Ge diodes or LEDs. Turn the Fuzz pot to 0 if you just want VCA.
PCB = USD18
Panel = USD20
assembled = USD160
Build guide on NLC wiki
The fuzz/distortion is part of the bottom VCA and is a typical diode based affair, on the PCB the space for these are thru-hole so you can install Si or Ge diodes or LEDs. Turn the Fuzz pot to 0 if you just want VCA.
PCB = USD18
Panel = USD20
assembled = USD160
Build guide on NLC wiki
Beat Freq
The idea for this module came from a schematic that has been floating around the web for years - 'beat frequency indicator'
The idea is to feed the circuit two signals and depending upon which one had the higher frequency the ring of 4 LEDs would light up in a clockwise or anti-clockwise direction. The speed of rotation would indicate how close or disparate the frequencies are. If the signals have the same frequency then just one LED is lit.
The original circuit used 74xxx series ICs for the logic, so it was simple enough to find the CMOS equivalents (sort of), then add gates corresponding to the LEDs and use the spare outputs of one chip to feed pots to make sequences. Then for good measure a discrete XNOR circuit was added to give a pseudo ring-modulator output based on the 2 incoming signals.
In operation this module is quite unique; the CV signals return to 0 between each step, the length of each step can vary depending on the incoming signals. Gates come in spurts. The circular LED display jerks around, sometimes it completes several revolutions confidently and then stutters between two stages, sometimes it shimmers on one spot.
At both audio rates and clock rates, this module is quite unpredictable but always seems to be putting out useful signals.
PCB = USD18
Panel = USD20
assembled = USD160
Build guide on NLC wiki
This video is from the 1st version proto-type, tho little was changed in the production version -
The idea is to feed the circuit two signals and depending upon which one had the higher frequency the ring of 4 LEDs would light up in a clockwise or anti-clockwise direction. The speed of rotation would indicate how close or disparate the frequencies are. If the signals have the same frequency then just one LED is lit.
The original circuit used 74xxx series ICs for the logic, so it was simple enough to find the CMOS equivalents (sort of), then add gates corresponding to the LEDs and use the spare outputs of one chip to feed pots to make sequences. Then for good measure a discrete XNOR circuit was added to give a pseudo ring-modulator output based on the 2 incoming signals.
In operation this module is quite unique; the CV signals return to 0 between each step, the length of each step can vary depending on the incoming signals. Gates come in spurts. The circular LED display jerks around, sometimes it completes several revolutions confidently and then stutters between two stages, sometimes it shimmers on one spot.
At both audio rates and clock rates, this module is quite unpredictable but always seems to be putting out useful signals.
PCB = USD18
Panel = USD20
assembled = USD160
Build guide on NLC wiki
This video is from the 1st version proto-type, tho little was changed in the production version -
Monday, 12 August 2019
1U 6HP Difference Rectifier
Those that build a lot of NLC modules will know this is one of my favorite circuits. The diff-rect has appeared on the Neuron, 1050 mix/sequencer, triple Sloth, GENiE and 8 of them make up the Let's Splosh.
It is great for mixing audio and/or CV signals to get all kinds of unexpected and interesting results. This page from 2012 on my old Pinky site has some more details.
The panels are available in Pulp and Intellijel formats and in white/gold or black/gold, please specify when ordering.
Please note, the PCBs only have eurorack 10 pin power connectors, not the Pulp Logic 3 pin type.
PCB & panel set = USD10
assembled = USD55
Build guide on wiki
It is great for mixing audio and/or CV signals to get all kinds of unexpected and interesting results. This page from 2012 on my old Pinky site has some more details.
The panels are available in Pulp and Intellijel formats and in white/gold or black/gold, please specify when ordering.
Please note, the PCBs only have eurorack 10 pin power connectors, not the Pulp Logic 3 pin type.
PCB & panel set = USD10
assembled = USD55
Build guide on wiki
Sunday, 14 July 2019
Gift cards
Not sure what to give your loved one for that special occasion?
NLC giftcards are sure to put a smile on everybody's face, probably.
Anyway, paypal thru the value you would like on it and I will send you one.
Post by regular mail is free.
NLC giftcards are sure to put a smile on everybody's face, probably.
Anyway, paypal thru the value you would like on it and I will send you one.
Post by regular mail is free.
Wednesday, 10 July 2019
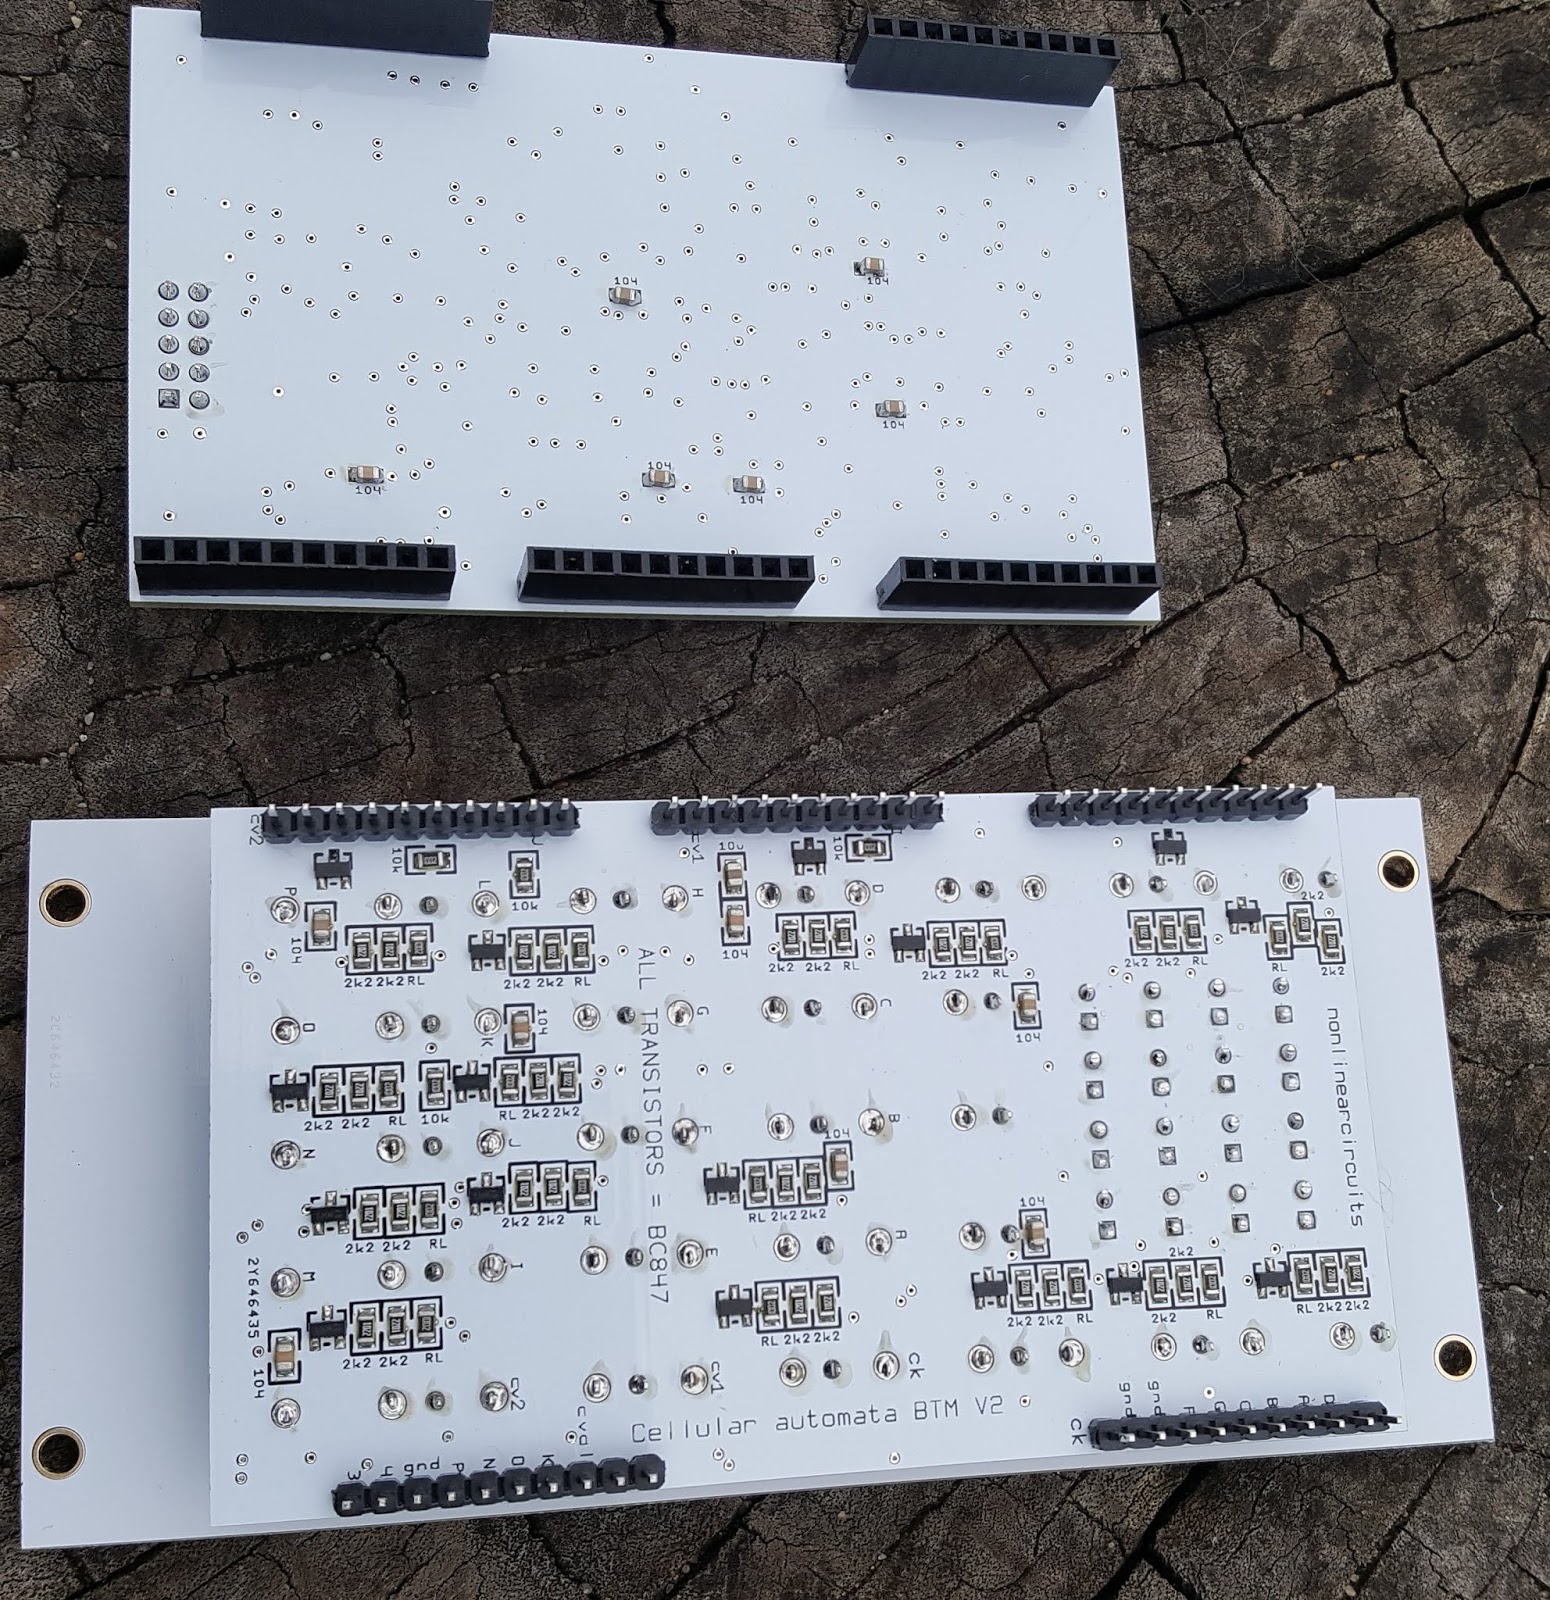
Cellular Automata
This is a 16 cell gate and pattern generator using cellular automata rules 90 & 150. It will run thru a process driven by a clock signal and requires a signal on one of the seed inputs (anything crossing 1V) to start a new process or alter the current one.
A process without seeds may run for hours or minutes, depending upon the start point and clock rate.
There are 3 CV outputs, two based on what is happening on each half of the circuit, one reflects the pattern created by the active cells. Each cell has a gate output.
The circuit uses CMOS chips and op amps, no microprocessors. It is a big build!
PCB set = USD25
panel = USD23
assembled = USD280
Build Guide & BOM on the NLC wiki
A process without seeds may run for hours or minutes, depending upon the start point and clock rate.
There are 3 CV outputs, two based on what is happening on each half of the circuit, one reflects the pattern created by the active cells. Each cell has a gate output.
The circuit uses CMOS chips and op amps, no microprocessors. It is a big build!
PCB set = USD25
panel = USD23
assembled = USD280
Build Guide & BOM on the NLC wiki
Friday, 14 June 2019
1U Sloth Chaos
These are Sloth chaos modules available in 1U 6HP panels.
The panels are available in Pulp and Intellijel formats and in white/gold or black/gold, please specify when ordering.
Please note, the PCBs only have eurorack 10 pin power connectors, not the Pulp Logic 3 pin type.
They are available in 3 variations, the same as on the triple Sloth panel; Torpor (15-20 second orbits), Apathy (1-3 minute orbits) and Inertia (15-20 minute orbits). The same PCB is used for all 3 variations.
Each has 2 outputs which supply different signals drawn from different stages of the circuit. The input can be used to inject a signal into the circuit, some signals will have no effect, others will cause periodicity at different stages, others will alter the chaotic orbits. I find very slow sine signals, from the Feague, are very good. Of course you do not have to input any signal, the sloths will happily meander along without any help.
Please note version 1 (V1) of the bottom PCB has the printing on the wrong side. Install the jacks and LED on the blank/unprinted side of the PCB.
See pics below as an example on how to connect the PCBs.
PCB & panel set = USD10
assembled = USD55
Build Guide on the NLC wiki
The panels are available in Pulp and Intellijel formats and in white/gold or black/gold, please specify when ordering.
Please note, the PCBs only have eurorack 10 pin power connectors, not the Pulp Logic 3 pin type.
They are available in 3 variations, the same as on the triple Sloth panel; Torpor (15-20 second orbits), Apathy (1-3 minute orbits) and Inertia (15-20 minute orbits). The same PCB is used for all 3 variations.
Each has 2 outputs which supply different signals drawn from different stages of the circuit. The input can be used to inject a signal into the circuit, some signals will have no effect, others will cause periodicity at different stages, others will alter the chaotic orbits. I find very slow sine signals, from the Feague, are very good. Of course you do not have to input any signal, the sloths will happily meander along without any help.
Please note version 1 (V1) of the bottom PCB has the printing on the wrong side. Install the jacks and LED on the blank/unprinted side of the PCB.
See pics below as an example on how to connect the PCBs.
PCB & panel set = USD10
assembled = USD55
Build Guide on the NLC wiki
Subscribe to:
Posts (Atom)